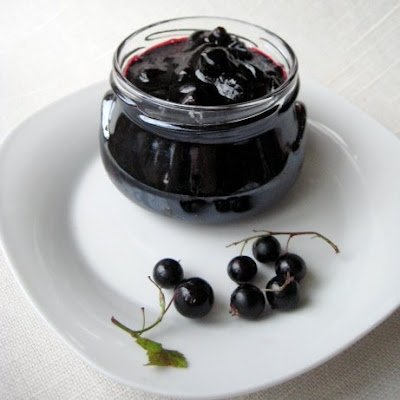
Black Currant Jam Biography
This recipe comes from my battered old copy of Delia Smith's Complete Cookery Course,
circa 1985. I first tried it 18 years ago, it worked wonderfully and so
I've never had cause to try another version. Of all the jams I make,
this is the one that the recipients consistently lavish praise on and is
brilliant as a first recipe - if you're new to jam making - as the high
pectin content ensures it sets quite reliably. If you have made jam
before, please excuse my attention to all the fiddly details. We were
all beginners once and these are the things I wish someone had initially
shared with me! However, if you are a novice,
Ingredients:-
2lb of blackcurrants.1 pint of water.2lb 8oz of granulated sugar.(Possibly) A small knob of butter.Put a couple of saucers into the freezer or the ice making
compartment of your fridge. Don't use your best china ones; I use odd
ones bought from the car boot for 20p! Do this at the beginning and they
will be nice and cold for when you need them later. Then pre-heat the
oven to Gas Mark 3 (or equivalent).
Pick over the fruit, discarding any stalks or leafy bits, then tip
into a colander and rinse under the cold tap. (For some strange
reason, the bits of leaf, grass seed, etc are easier to extract while
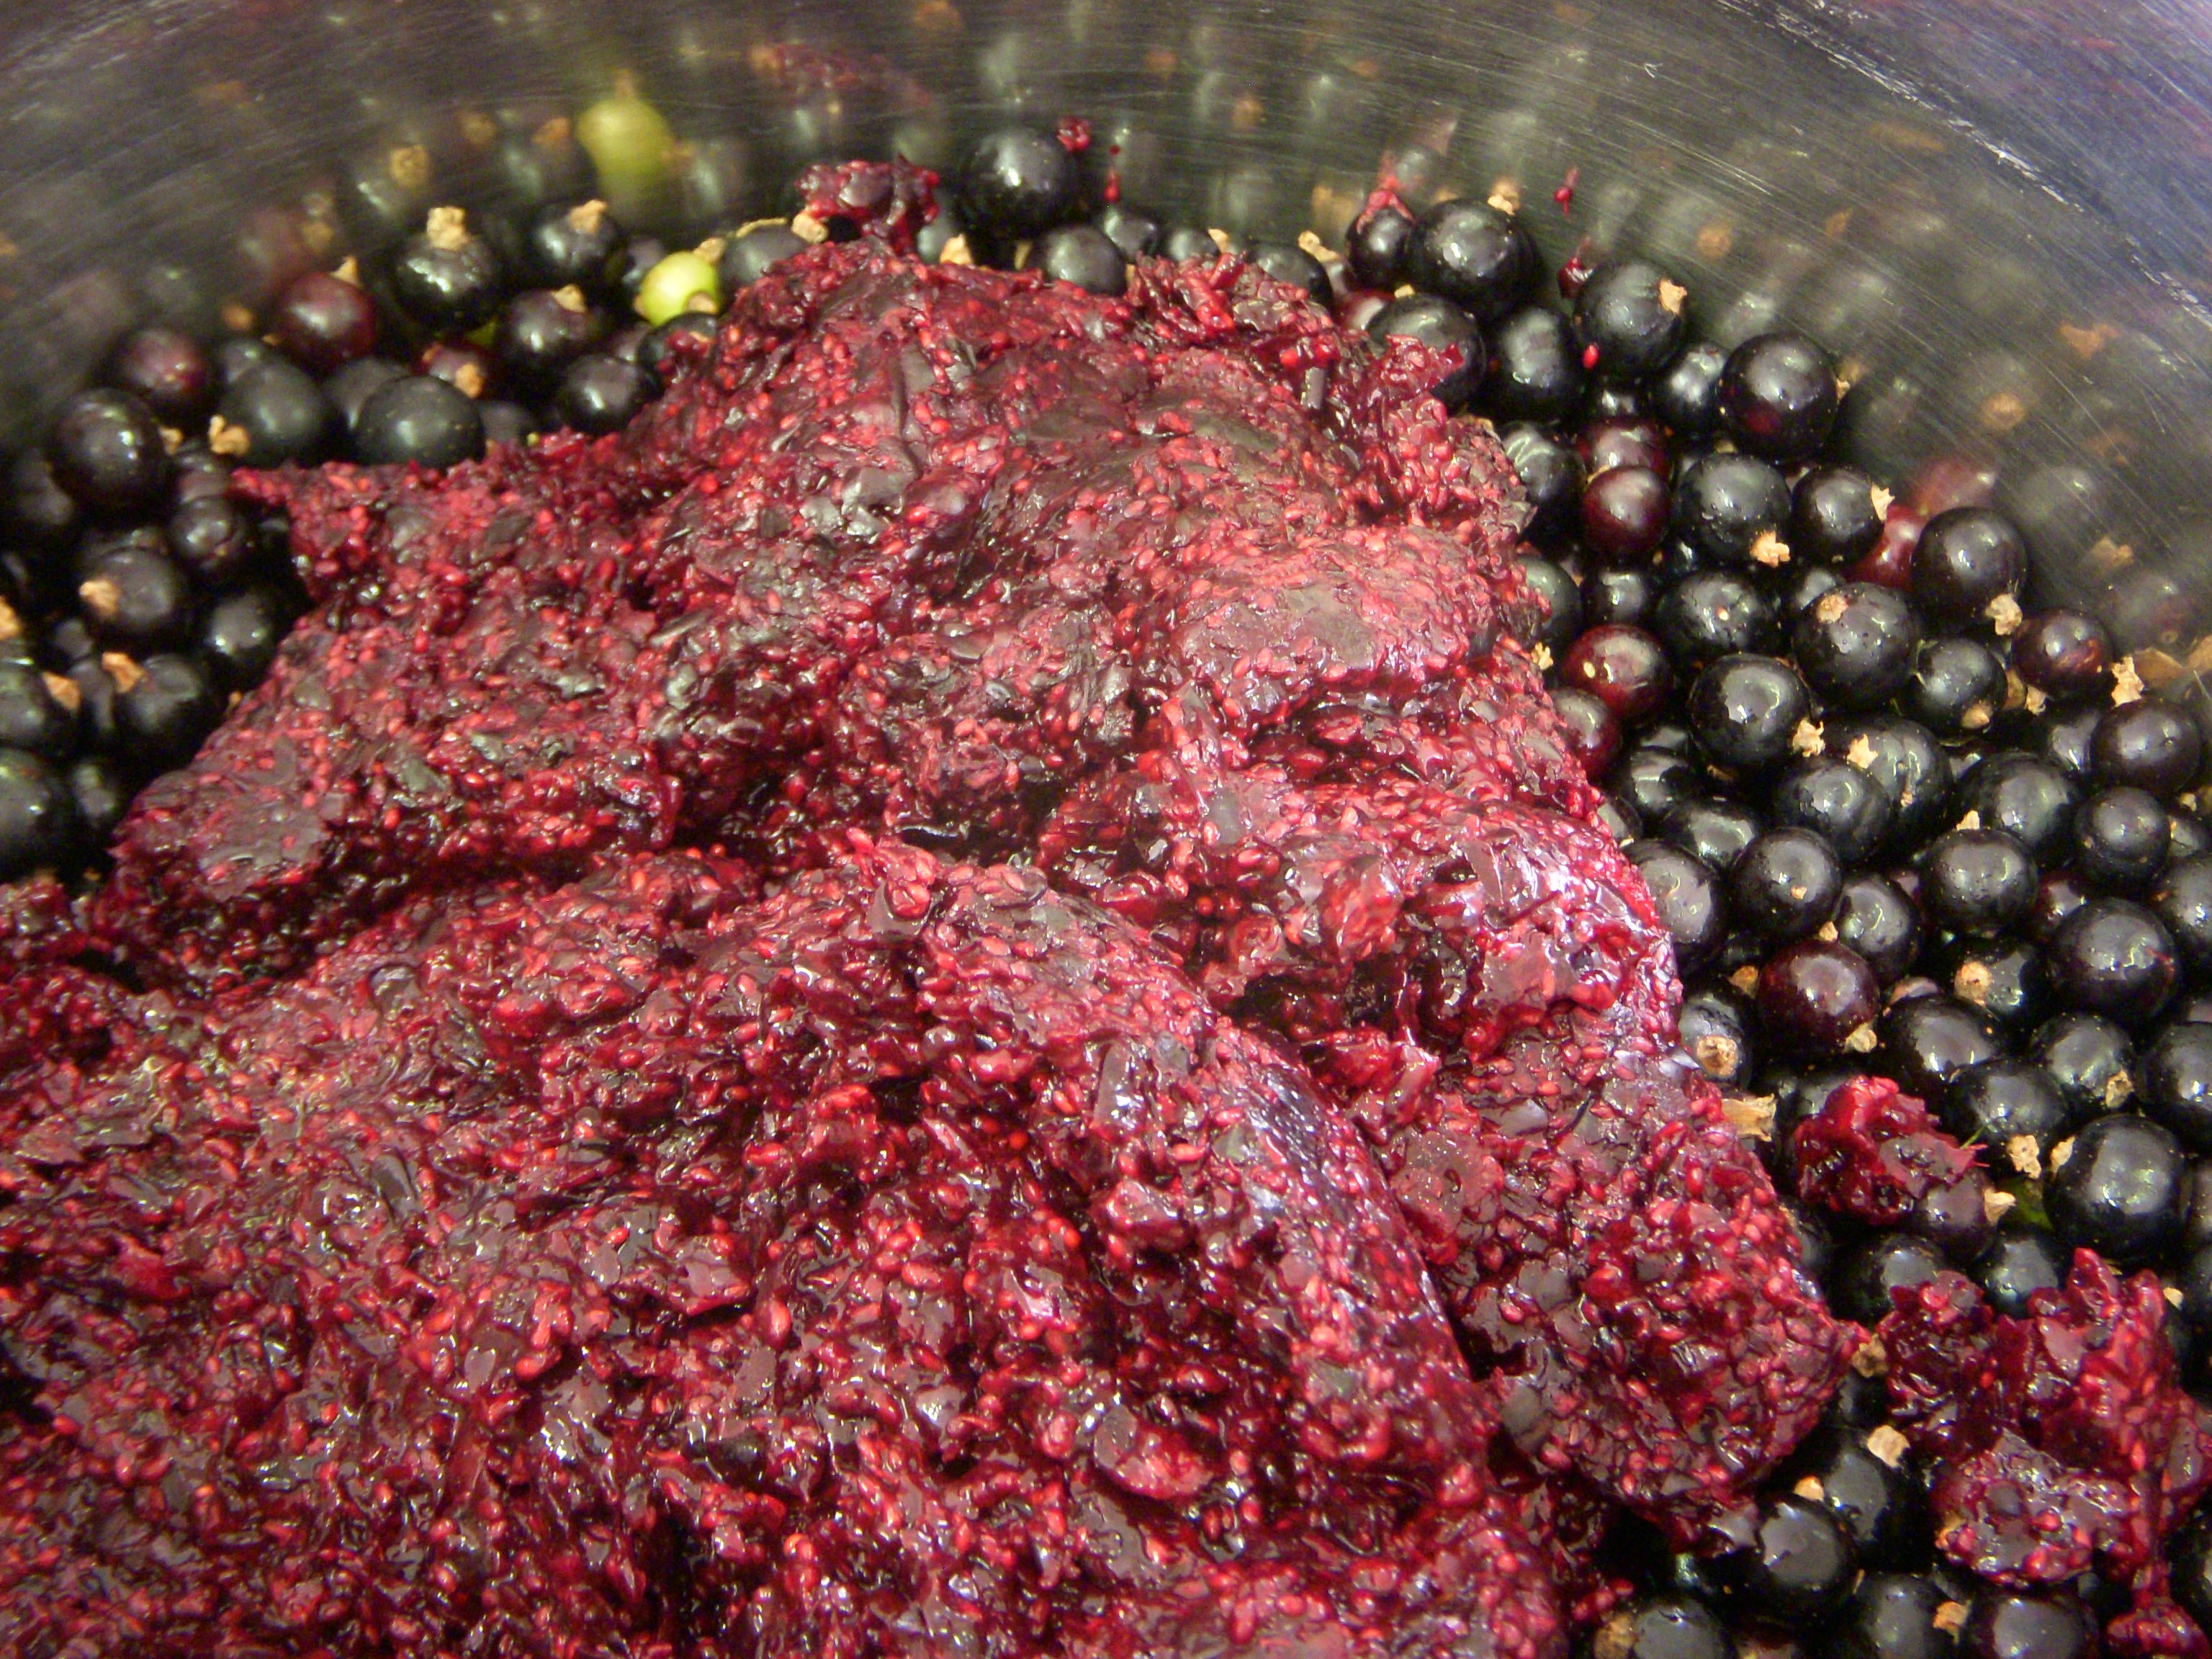
the fruit is dry!) Tip the washed fruit into a jam pan, add the water and cook over a
low heat until the berries have softened. It's very important that the
fruit is soft before adding the sugar, as they will not soften further
once the sugar is added. Though - ideally - you want as much whole
fruit in your jam as possible, you do not want it to have the
consistency of little bullets! Once the currants are soft enough they
will squash easily with a wooden spoon against the side of the pan. I
have found, though, that using frozen fruit cuts down on the time the
blackcurrants take to soften.
Once the blackcurrants are simmering gently, tip the sugar into an
ovenproof container - I use a large roasting tin - and put it in the
oven for 10 minutes or so until the fruit is tender. When the fruit is
cooked, add the hot sugar to the jam pan and stir gently to incorporate.
Try not to get the sugar crystals up the sides of the pan as this makes
them dificult to dissolve.(Tip: sugar crystals can be washed off the
sides of the pan using a pastry brush and a little water). Leave the mixture on a low heat for 15 minutes or so, stirring
occasionally, until the sugar has dissolved completely. If you check the
back of your wooden spoon there should be no sugar crystals remaining,
nor any gritty bits scratching on the bottom of the pan as you stir.
It's very important that no sugar crystals are left or the finished jam
will go sugary.
As soon as the sugar has dissolved, turn the heat up as high as it
will go and boil the jam rapidly for 10 minutes. Then remove it from
the heat, spoon a little onto one of your cooled plates, and when it's
cool push the jam with your little finger. If a crinkly skin has formed,
it's set. If not, boil it again rapidly for five minutes and test again
and carry on like this until the jam has set. (I scrape any unset jam
back from the saucer into the pan and return the saucer to the freezer
for further testing).
Ignore any scum while the jam is boiling, but as soon as it's set,
add a little knob of butter and stir well to get rid of most of it. Any
scum remaining can be removed with a slotted spoon but be careful only
to remove the scum and not a lot of jam along with it. Besides, the scum
is not harmful; it just looks unsightly! Once you've got a set and skimmed the scum, then put your jars to
warm in the oven. It helps to loosen the lids prior to putting them in
the oven so that you don't burn your fingers trying to unscrew them when
they're hot! Cold jars would crack when the hot jam was put into them
and heating them up also keeps them sterile and reduces the chances of
mould spoiling the finished jam. The jam can settle while the jars warm
up for 10 minutes. They will be very hot when you take them out and I
handle mine first with oven gloves and then with a thick,
damp dishcloth, folded over a few times.
A jam funnel is useful for filling the hot jars to prevent the jam
dribbling down the jar sides. You can use a jug dipped in the jam but I
prefer to use a ladle as I find it easier to see when the jar is full.
Fill them right to the top and cover straight away with waxed discs,
waxed side onto the jam to form a seal. Then screw on the lid
immediately. If you are using jars with the safety tops you will hear
the lids 'pop' as the jam starts to cool, forming a really tight seal.
When the jam is cold, wipe the jars with a damp cloth to remove any
spills and label when the jars have dried. If I have just a little jam
left in the pan - but not enough to fill a jar - I spoon it onto the
saucer I used to test for a set. Once cooled, I cover it with clingfilm
and put it in the fridge. It's not really a hardship to consume it
within the next couple of days and it's better than wasting it.Spread it on scones, cakes or freshly-baked bread and await the applause!
Black Currant Jam
Black Currant Jam

Black Currant Jam

Black Currant Jam

Black Currant Jam

Black Currant Jam

Black Currant Jam

Black Currant Jam

Black Currant Jam

Black Currant Jam

Black Currant Jam
Black Currant Jam

No comments:
Post a Comment